
Garage door safety sensors are an important part of an automatic garage door opener system. These small devices help prevent the door from closing when a person, pet, vehicle, or object is in the doorway. If the sensors are damaged, incorrectly installed, poorly aligned, or improperly wired, the garage door may refuse to close or reverse unexpectedly. Knowing how to install garage door sensors can help you understand the correct installation process and identify common problems.
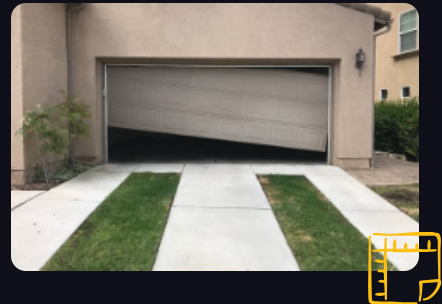
If your garage door is not closing properly, Garage Door Repair may sometimes involve more than replacing a sensor. Problems can also result from damaged wiring, incorrect alignment, faulty brackets, or issues with the opener itself. This guide explains how to install garage door sensors, how garage door sensor wiring works, how to replace garage door sensors, and what to check when the safety system does not operate correctly.
What Are Garage Door Safety Sensors?
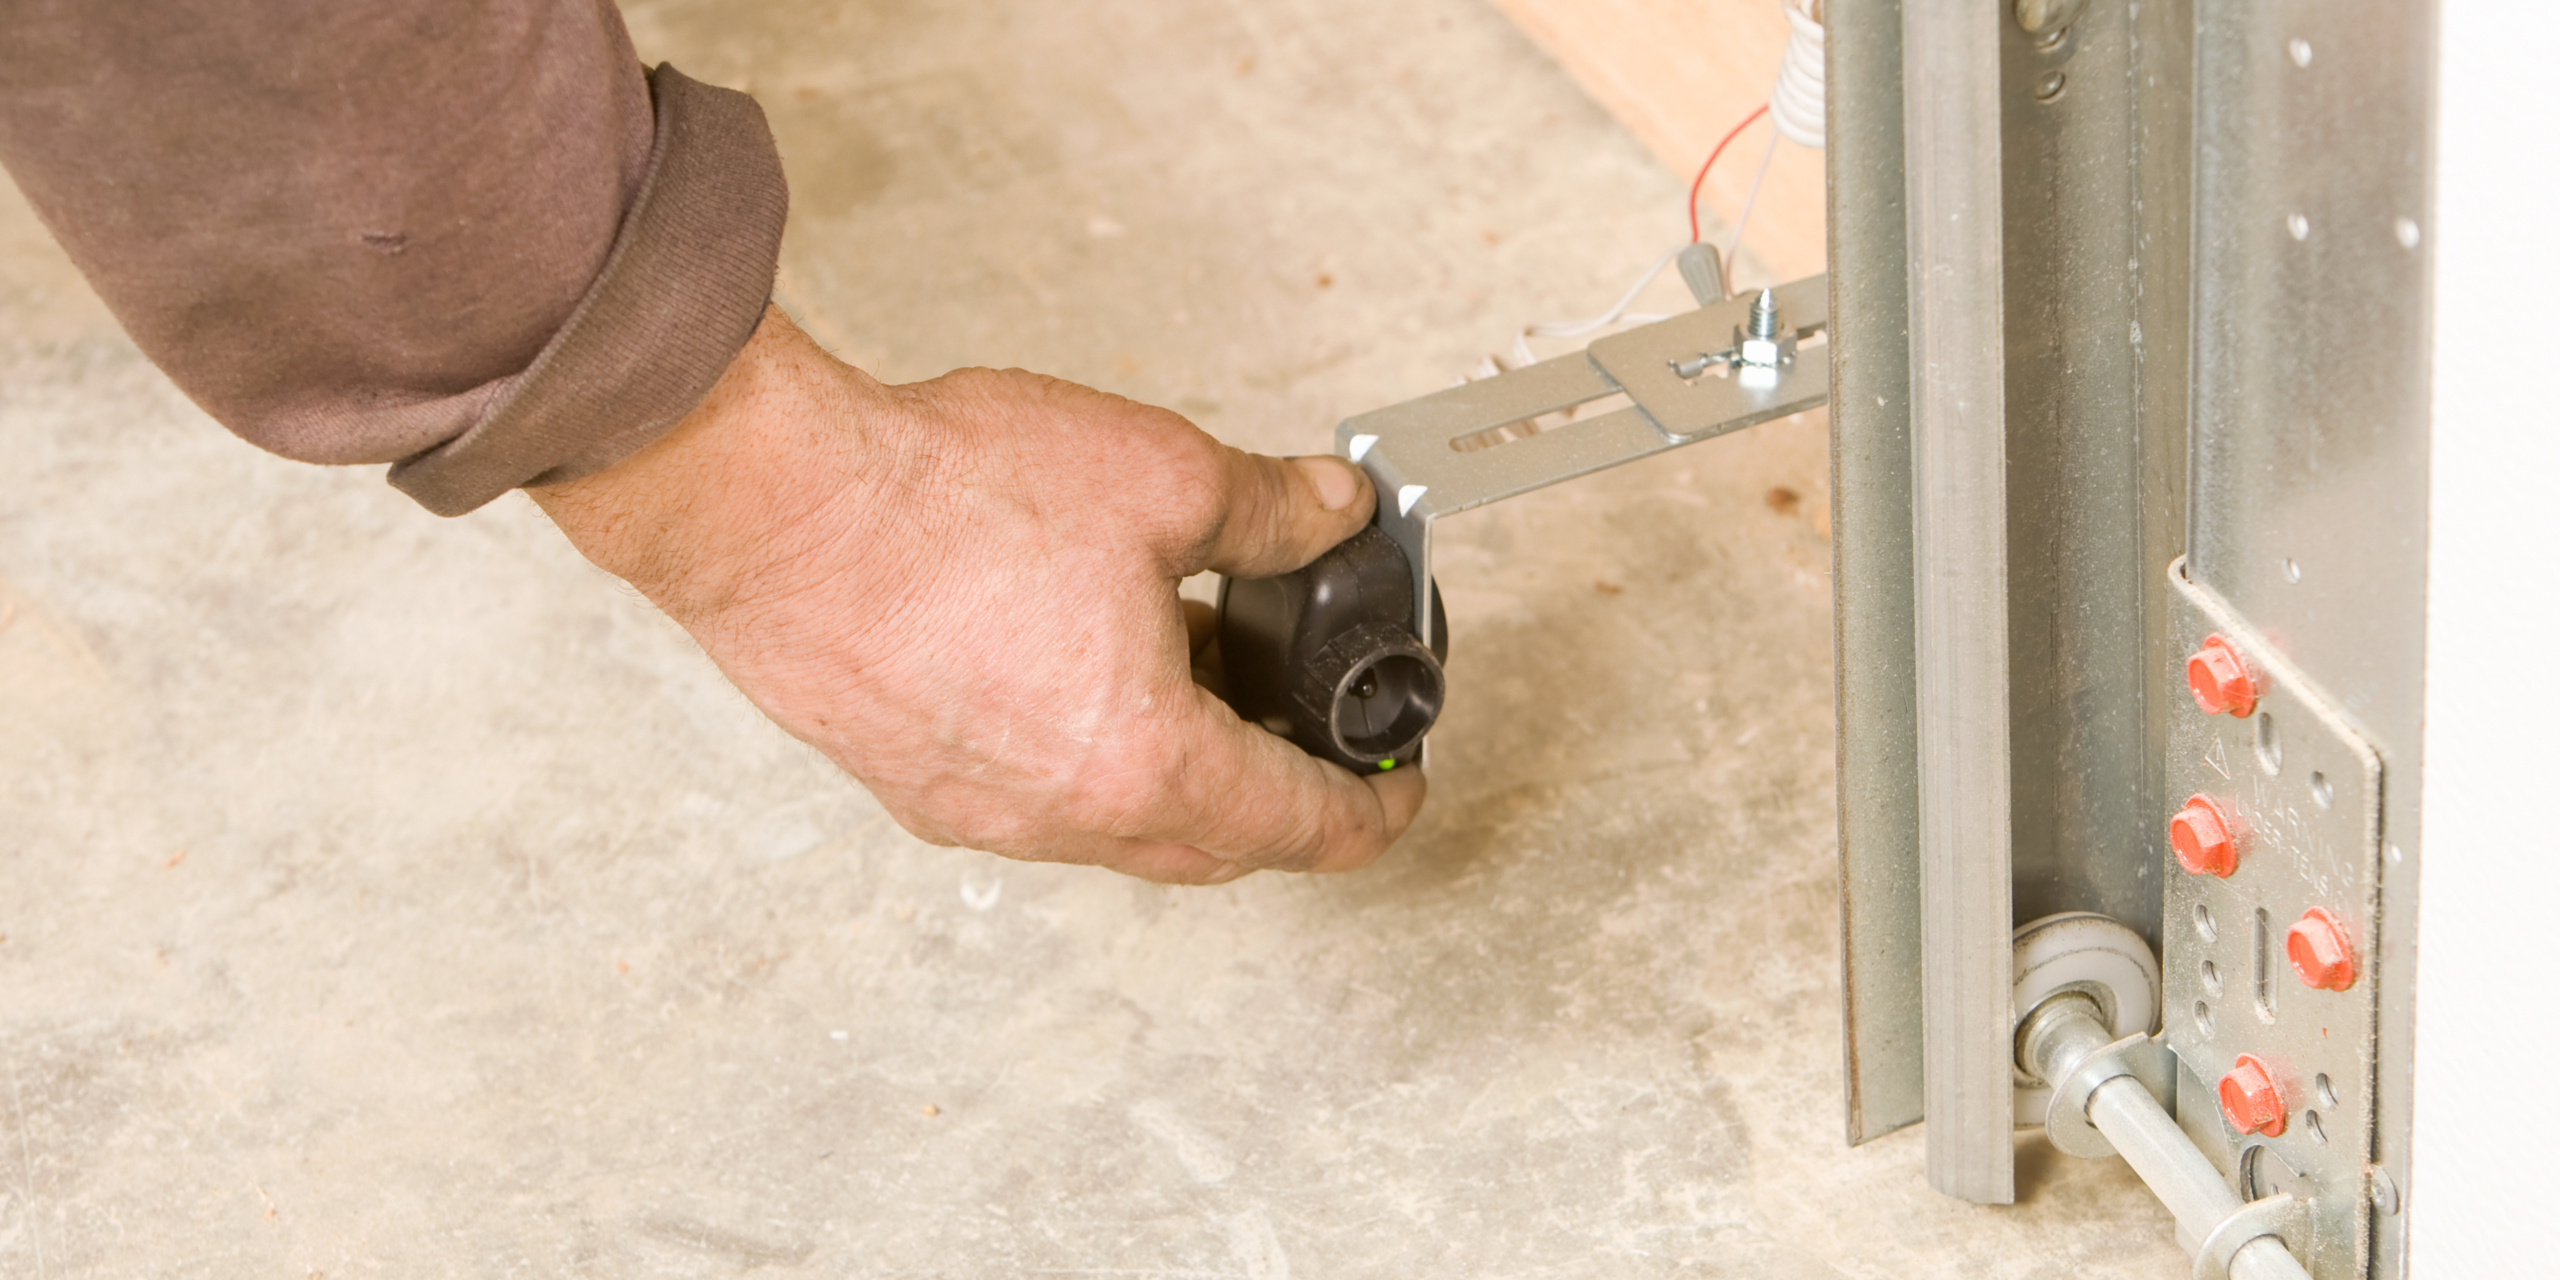
Garage door safety sensors are usually installed near the bottom of the garage door tracks on opposite sides of the opening. One sensor sends an invisible infrared beam toward the other sensor. When the beam is interrupted, the garage door opener detects the obstruction and prevents the door from continuing to close.
The sensors are designed to improve the safety of an automatic garage door system. Because they are part of the opener’s safety mechanism, they should never be bypassed or intentionally disabled.
A typical garage door sensor system includes:
- Two safety sensors
- Mounting brackets
- Low-voltage wiring
- Sensor indicator lights
- Connections at the garage door opener?
Correct positioning, wiring, and alignment are all necessary for the system to work properly.
Tools and Materials You May Need
Before starting the installation, gather the necessary tools and compatible replacement parts.
You may need:
- Compatible garage door safety sensors
- Screwdriver
- Pliers
- Wire stripper
- Low-voltage sensor wire
- Wire connectors
- Mounting brackets
- Measuring tape
- Level
- Insulated staples or wire clips
- Soft cloth for cleaning sensor lenses
The exact tools can vary depending on your garage door opener and sensor model. Always check the manufacturer’s instructions before connecting wiring or installing replacement components.
How to Install Garage Door Sensors Step by Step
1. Turn Off Power to the Garage Door Opener
Safety should always be the first consideration.
Disconnect the garage door opener from its power source before working with the sensor wiring. This helps prevent accidental operation while you are installing or replacing the sensors.
Once the opener is disconnected, inspect the existing system. Look for cracked sensor housings, loose wires, damaged insulation, bent brackets, or other visible problems.
If the sensors are physically damaged, replacing them may be more practical than attempting to repair the sensor itself.
2. Determine the Correct Sensor Location
Garage door sensors are normally installed on opposite sides of the garage door opening.
The two sensors need to face each other so the infrared beam can travel directly between them. They should also be installed at approximately the same height.
In many systems, the sensors should be installed no more than about 6 inches above the garage floor. Check the installation instructions for your specific opener because requirements can vary.
Before drilling or tightening any hardware, measure both sides of the garage door opening and make sure the proposed locations provide a clear path between the sensors.
3. Mount the Safety Sensors
Attach the mounting brackets to the appropriate locations near the bottom of the garage door tracks or wall.
Install one sensor on each side of the garage door.
At this stage, avoid tightening the mounting hardware completely. Leaving some adjustment available makes it easier to align the sensors after the wiring has been connected.
Make sure the sensors are positioned away from moving components and are not likely to be hit by vehicles, tools, storage items, or other objects.
4. Understand Garage Door Sensor Wiring
Understanding garage door sensor wiring is an important part of the installation process.
Most safety sensors use low-voltage wiring with two conductors. Depending on the opener and sensor system, the wires may have different colors or markings to help identify them.
For compatible Chamberlain-style systems, you may commonly see:
- Solid white wire
- White wire with a black stripe
The exact terminal configuration can vary by opener model, so do not assume that every garage door opener uses the same wiring arrangement.
Before disconnecting an existing sensor, take a clear picture of the wiring. This can make it easier to identify where each conductor was connected.
5. Route the Sensor Wires
After mounting the sensors, route the wires toward the garage door opener.
The wiring should be secured along the wall, garage door track area, or ceiling as appropriate. Keep the wires away from:
- Garage door springs
- Cables
- Rollers
- Hinges
- Moving door sections
- Sharp metal edges
- Areas where vehicles or stored items can damage them
Use appropriate wire clips or insulated fasteners to keep the wiring secure.
Do not allow fasteners to crush or puncture the wires.
6. Connect the Sensor Wires to the Opener
Locate the safety sensor terminals on the garage door opener motor unit.
Depending on the opener, the terminals may be labeled or color-coded. Some systems use quick-connect terminals, while others use screw terminals.
Follow the wiring diagram for your specific opener.
If your system uses different colored conductors, connect each wire according to the manufacturer’s instructions rather than relying on the appearance of another opener.
Avoid leaving excessive exposed copper at the connection point. The connection should be secure without damaging the conductor.
7. Align the Garage Door Sensors
Sensor alignment is one of the most important parts of the installation.
Both sensors must face one another so that the infrared beam can travel between them without obstruction.
Many garage door opener systems have indicator lights on the sensors. These lights can help you determine whether the sensors have power and whether they are aligned correctly.
If one indicator light is not working as expected, check:
- Sensor position
- Wiring connections
- Sensor height
- Sensor brackets
- Obstructions
- Damaged wires
Move the sensor carefully until the indicator lights show the correct operating condition for your opener.
8. Secure the Sensor Brackets
Once both sensors are properly aligned, tighten the mounting hardware.
Be careful not to move the sensors while tightening the brackets. Even a small movement can change the alignment enough to interrupt the infrared beam.
After tightening the brackets, check the indicator lights again.
Make sure both sensors remain:
- Secure
- Level
- Properly positioned
- Directly facing one another
- Free from obstruction
9. Restore Power and Test the System
After completing the installation, restore power to the garage door opener.
Operate the garage door according to the manufacturer’s testing procedure.
You should also test the safety sensor function using the appropriate method for your opener.
If the door does not respond correctly to an interrupted sensor beam, stop using the automatic closing function until the problem has been identified and corrected.
Do not bypass the sensors just to make the opener operate.
Garage Door Sensor Troubleshooting
After installation, you may still experience problems with the garage door sensors. Garage Door Sensor Troubleshooting starts with checking the simplest possible causes before replacing components.
Check the Sensor Alignment
Misalignment is one of the most common reasons a garage door sensor system does not operate correctly.
Make sure both sensors are facing each other and installed at a similar height. If one sensor has been bumped, its position may need to be adjusted.
Inspect the Wiring
Examine the entire sensor wire path.
Look for:
- Frayed wires
- Cuts
- Loose connections
- Crushed insulation
- Disconnected wires
- Damaged sections near brackets
A damaged wire can interrupt communication between the sensors and the garage door opener.
Clean the Sensor Lenses
Dust, dirt, spider webs, and other debris can interfere with the sensor beam.
Use a soft cloth to carefully clean both sensor lenses. Avoid using anything that could scratch the sensor surface.
Check the Indicator Lights
If your sensors have indicator lights, observe them while troubleshooting.
An indicator that is off, flickering, or showing an unexpected status may indicate a wiring, power, or alignment issue.
Refer to the opener’s specific instructions to determine what each light pattern means.
Check for Obstructions
Make sure nothing is blocking the area between the sensors.
Common obstructions can include:
- Boxes
- Tools
- Bicycles
- Storage containers
- Vehicle parts
- Debris
- Garage equipment
Even a small object positioned directly in the sensor path can interrupt the beam.
How to Replace Garage Door Sensor
If the sensors are damaged or have failed, you may need to replace garage door sensor units.
Before purchasing replacements, verify that the sensors are compatible with your garage door opener.
Check:
- Garage door opener model
- Sensor model or replacement kit
- Wiring configuration
- Connector type
- Manufacturer compatibility
Turn off the opener power before removing the old sensors.
Remove the damaged sensor from its bracket and disconnect the wiring. Install the compatible replacement sensor and connect the wiring according to the manufacturer’s instructions.
After installing the replacement, align both sensors and test the system.
Chamberlain Replacement Safety Sensors
If you have a Chamberlain garage door opener, choosing compatible Chamberlain replacement safety sensors is important.
Do not select a replacement sensor simply because it looks similar to your existing sensor. Different opener models can use different sensor systems and wiring configurations.
Before purchasing a replacement, identify your opener’s model number and verify that the replacement sensor is designed for that system.
When installing replacement sensors, maintain the correct wire connections and make sure both sensors communicate properly with the opener.
Wiring Garage Door Sensors Correctly
When wiring garage door sensors, consistency is important.
If the sensor wiring uses marked conductors, follow the corresponding wiring diagram for your opener. Do not randomly connect wires based only on their physical position.
If the existing wiring is damaged, replacing the damaged wiring may be necessary.
When routing new wiring, keep it protected from moving garage door components and secure it so it cannot become tangled or pulled.
If you are unsure about the wiring configuration, professional assistance can help prevent incorrect connections or unnecessary replacement of functioning components.
Common Problems After Installing Garage Door Sensors
Even after installing new sensors, homeowners may experience problems.
The Garage Door Will Not Close
Possible causes include:
- Misaligned sensors
- Blocked sensor beam
- Damaged wiring
- Loose wiring connections
- Faulty sensor
- Opener-related problem
Start by checking alignment and wiring before assuming that the sensors need to be replaced.
One Sensor Light Is Not On
Check the wiring and connections first. Make sure the sensor is receiving power and that its wires are correctly connected.
If the wiring is intact and the indicator still does not operate correctly, the sensor itself may require replacement.
The Sensors Keep Losing Alignment
If the sensors repeatedly move out of alignment, inspect the mounting brackets.
Loose or damaged brackets can allow the sensors to move when the garage door operates.
New Sensors Still Do Not Work
If newly installed sensors do not solve the problem, the issue may not be the sensors.
Potential causes can include damaged wiring, incorrect sensor compatibility, opener problems, or another issue within the garage door system.
Can You Install Garage Door Sensors Yourself?
A straightforward sensor replacement may be manageable for a homeowner who is comfortable following the garage door opener manufacturer’s instructions.
However, garage doors contain heavy components, high-tension springs, cables, and moving parts. Sensor installation should not require you to modify or interfere with those mechanical components.
If you are uncomfortable working with the wiring or cannot determine why the sensors are not functioning, contacting a garage door professional is a safer option.
When Should You Call a Garage Door Professional?
Professional service may be appropriate if:
- The sensors are repeatedly losing alignment
- The wiring is damaged
- You cannot identify the correct replacement sensors
- The opener continues to malfunction
- The garage door reverses unexpectedly
- The sensors appear to work but the opener does not
- The garage door has additional mechanical problems
- You are unsure about the correct wiring configuration
A sensor problem can sometimes be a symptom of a larger garage door or opener issue.
Frequently Asked Questions
1. How high should garage door sensors be installed?
Garage door safety sensors are generally installed close to the garage floor, with many systems requiring them to be no more than approximately 6 inches above the floor. Always follow the requirements for your specific opener.
2. Why won’t my garage door close after installing new sensors?
The most common possibilities include incorrect alignment, loose wiring, damaged wiring, a blocked sensor beam, dirty lenses, or incompatible sensors. Check the indicator lights and wiring before replacing additional parts.
3. Can I replace garage door sensors without replacing the wiring?
In many situations, yes. If the existing wiring is in good condition and compatible with the replacement sensors, it may be reused. However, the replacement sensors and opener must use a compatible wiring configuration.
4. How do I know if my garage door sensors are aligned?
Most garage door safety sensors have indicator lights that provide information about power and alignment. If the lights indicate a problem, carefully adjust the sensor position and inspect the wiring and mounting brackets.
5. Should I bypass garage door sensors if they are not working?
No. Garage door safety sensors are an important part of the opener’s safety system. If they are malfunctioning, identify and correct the problem or contact a qualified garage door professional instead of bypassing the sensors.
Get Professional Help With Garage Door Sensors
Learning how to install garage door sensors can help you understand the basic process of mounting, wiring, aligning, and testing your safety sensors. Correct installation is important because these devices are designed to prevent the garage door from closing when an obstruction is detected.
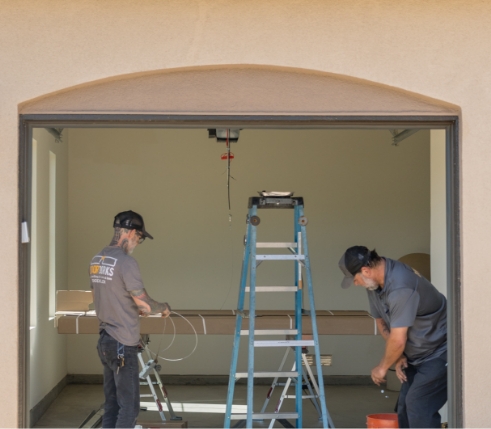
If you are dealing with faulty sensors, damaged wiring, repeated alignment problems, or an opener that will not close the door correctly, Door Dorks can help inspect the system and identify the appropriate repair or replacement solution.
Whether you need help with garage door sensor troubleshooting, sensor replacement, wiring concerns, or a broader garage door issue, professional service can help restore safe and reliable operation.
Need help with your garage door sensors? Contact Door Dorks today to schedule an appointment and get your garage door safety system checked.